Cross-platform support
Convert your Python scripts into executables for Windows, macOS, and Linux from a single interface.

A cross-platform GUI wrapper for PyInstaller. Convert your Python scripts into standalone executables for Windows, macOS, and Linux with ease. No command-line headaches.
Live data from the GitHub repository.
Packed with features to make Python packaging simple, fast, and reliable.
Convert your Python scripts into executables for Windows, macOS, and Linux from a single interface.
No need to remember complex command-line arguments. A simple and intuitive interface.
Automatic system theme detection with manual override options for comfortable use.
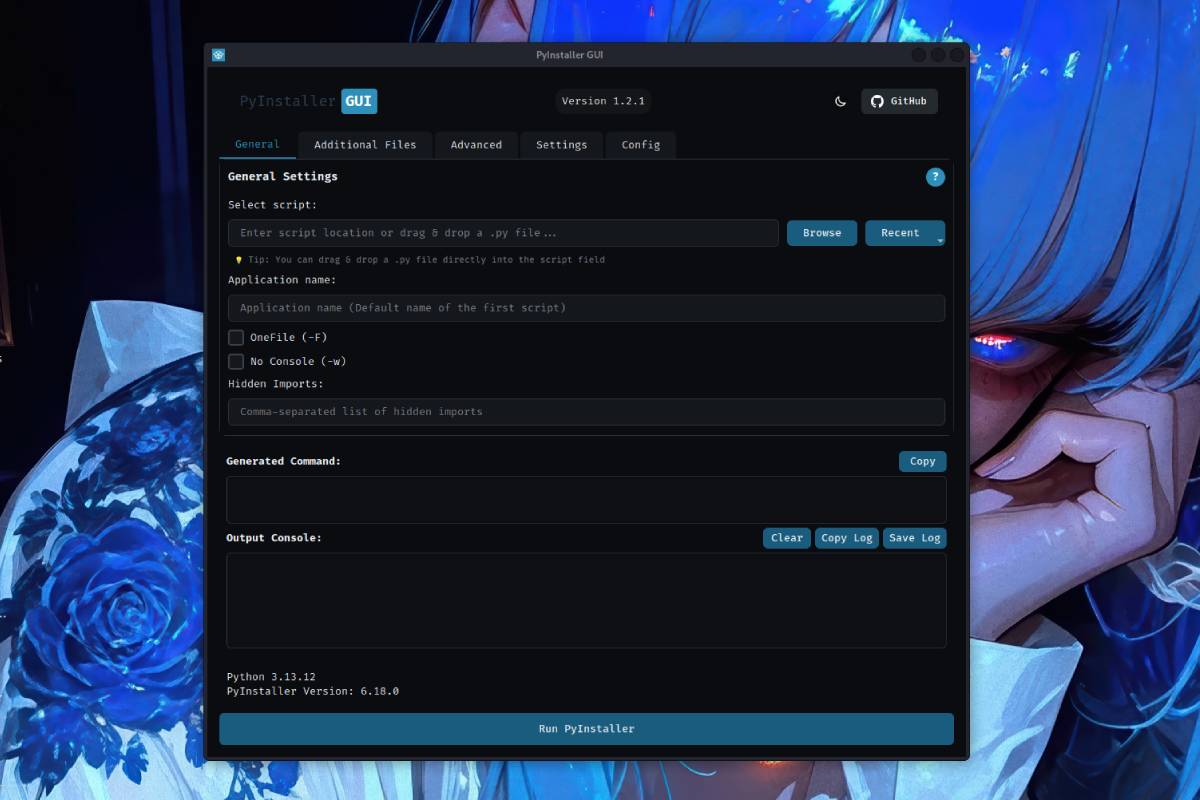
Simply drag and drop your Python script into the application to get started instantly.
Quickly access recently used scripts from the dropdown menu for faster iteration.
Export and import build configurations as JSON files for reuse and sharing across projects.
Command preview with color-coded syntax highlighting for better readability and debugging.
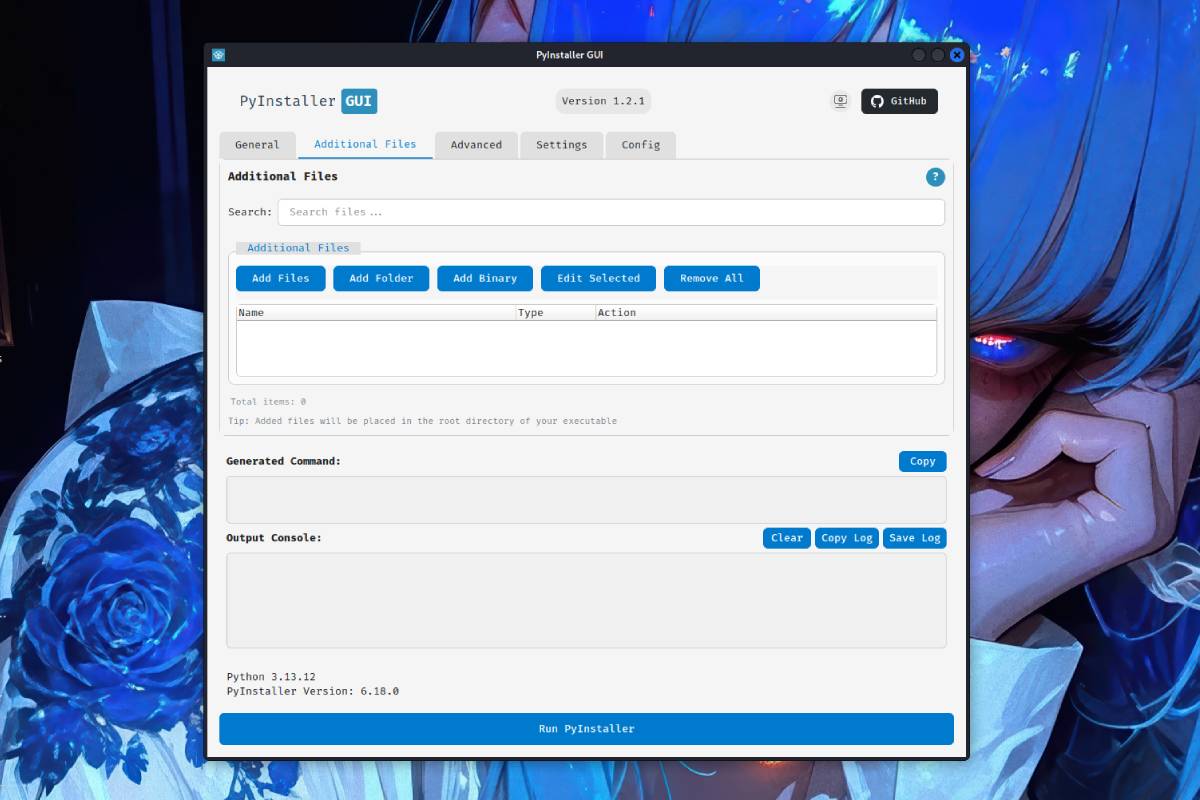
Search and filter additional files in the file tree to manage large projects with ease.
Edit file paths directly or double-click to modify them within the Additional Files tab.
Copy generated commands or save build logs to files with timestamps for later reference.
View everything happening during the conversion process with detailed, live logs.
Fine-tune various PyInstaller options like adding extra files, hidden imports, and more.
Install in seconds and start building executables.
pip install --upgrade pyinstaller-guiOr clone the repository directly:
git clone https://github.com/inject3r/pyinstaller-gui.git
cd pyinstaller-gui
pip install -e .pyinstaller-guiOr use the shorthand:
pyinstallergui.py file, or selecting from Recent files.Fine-tune every aspect of your build.
| Feature | Description |
|---|---|
| OneFile (-F) | Create a single executable file instead of a folder. |
| No Console (-w) | Hide the console window for GUI applications. |
| Hidden Imports | Specify modules that are imported dynamically. |
| Additional Files | Include files, folders, or binaries to bundle. |
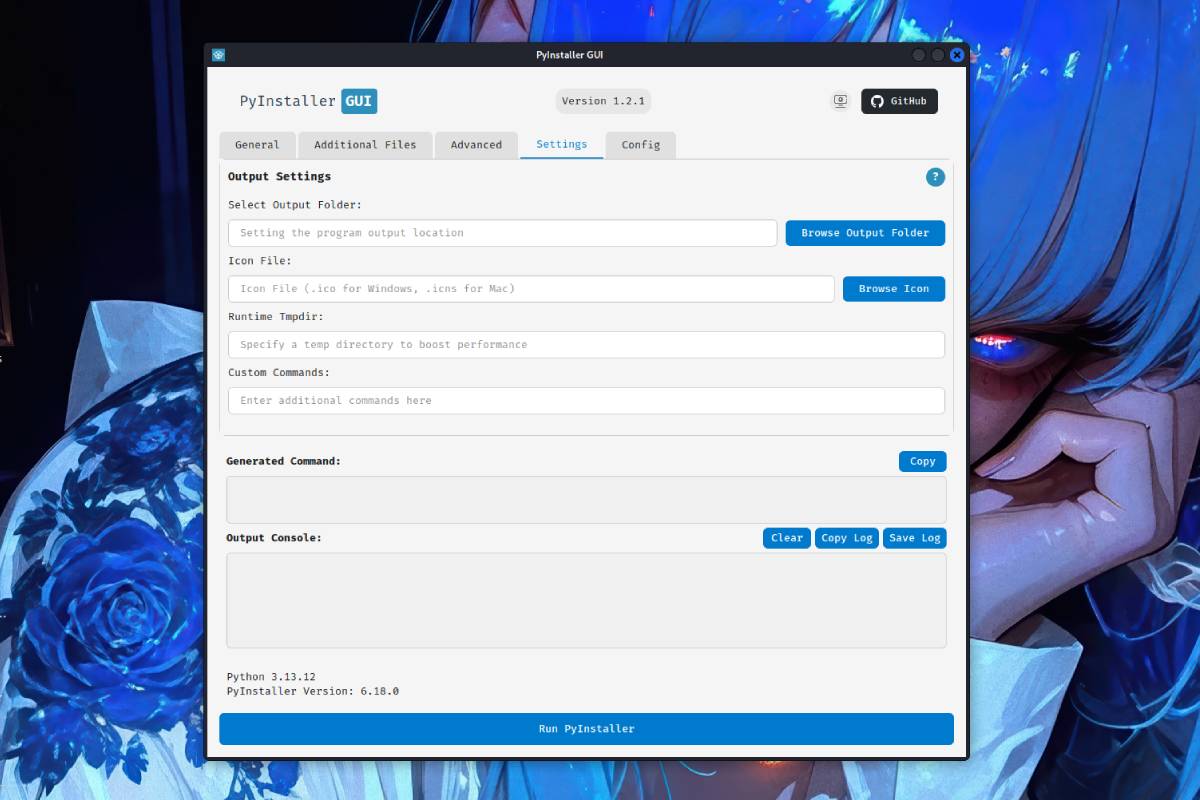
| Icon | Choose a custom icon (.ico for Windows, .icns for macOS). |
| Output Folder | Define where the executable will be saved. |
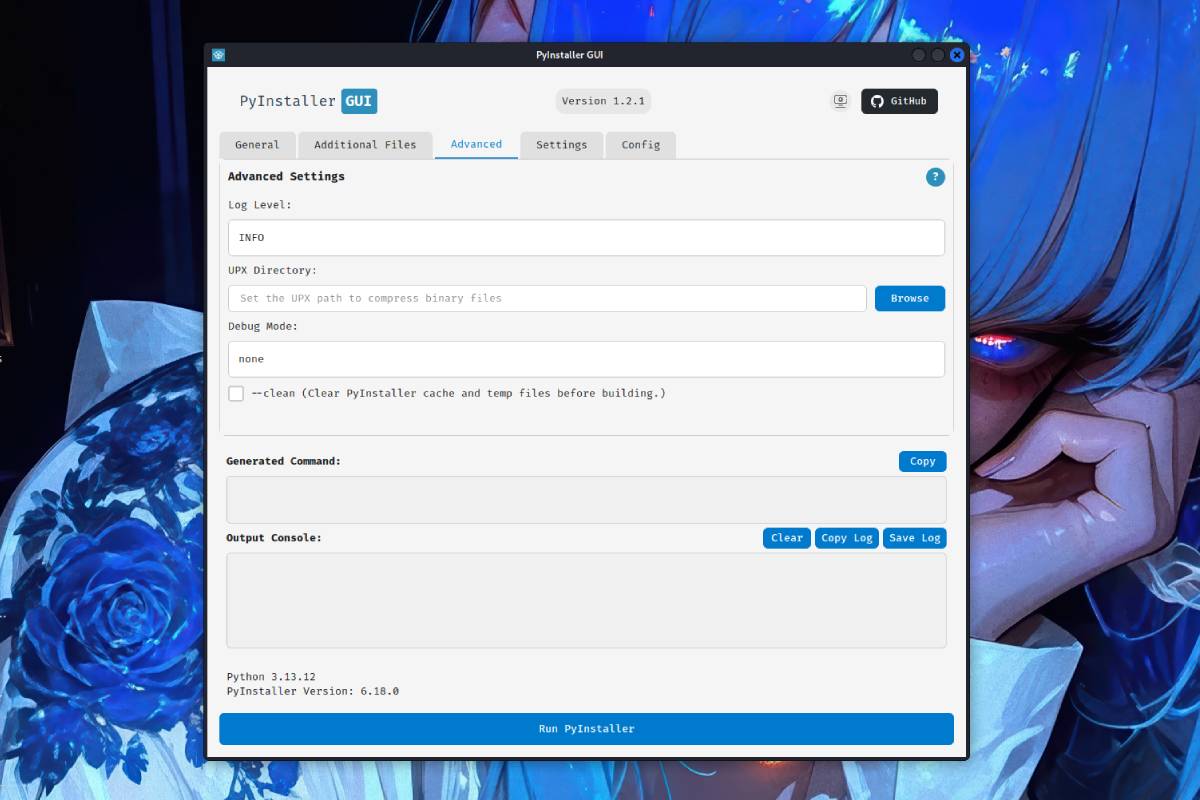
| UPX Directory | Path to UPX for executable compression. |
| Log Level | Control build output verbosity (TRACE, DEBUG, INFO, WARN, ERROR, FATAL). |
| Debug Mode | Enable debug features (all, imports, bootloader, noarchive). |
| Runtime Tmpdir | Custom temporary directory for onefile mode. |
| Clean Cache | Clear PyInstaller cache before building. |
| Custom Commands | Add any additional PyInstaller arguments. |
Click any image to view it larger.
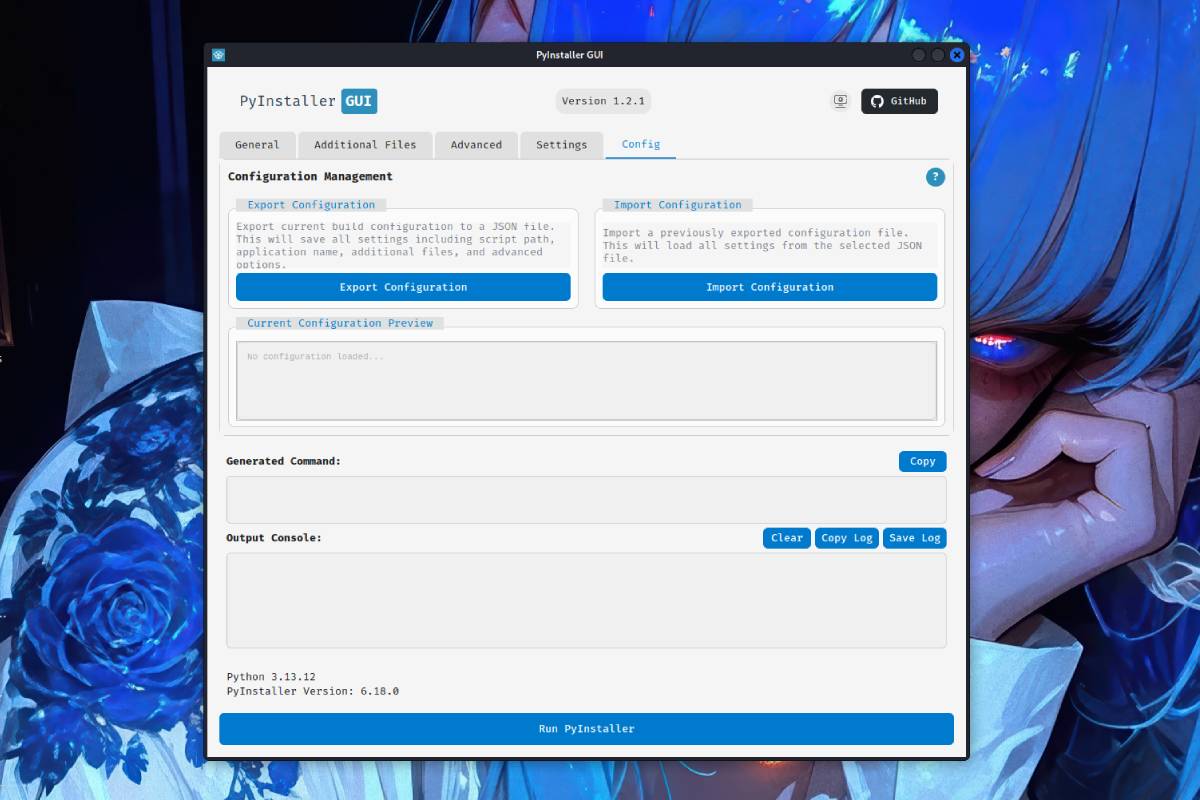
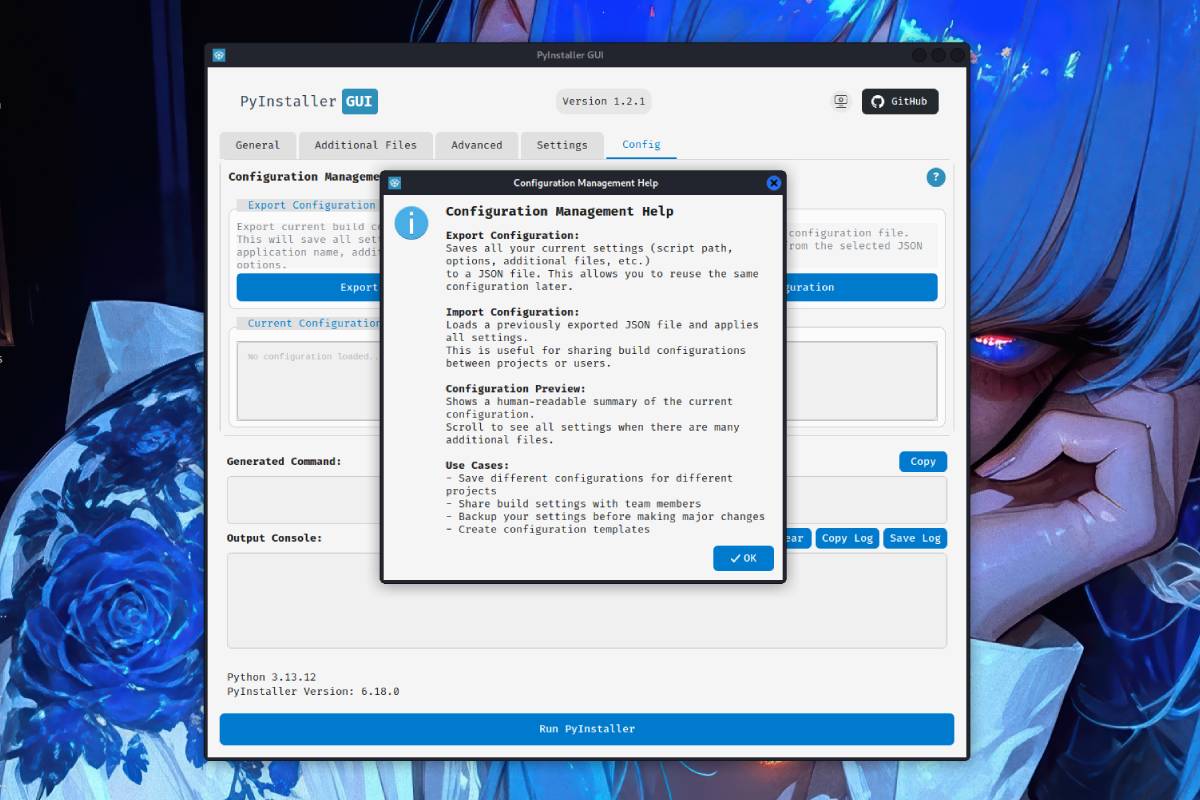
Common issues and their solutions.
pip install pyinstaller.chmod +x dist/your_app.--windowed flag (already set by No Console option).For contributors and advanced users.
# Run all tests with coverage
./scripts/tests.sh

# Clean test output files
./scripts/test_clean.sh

# Run a single test file
python -m pytest tests/test_command_builder.py -v# Install in development mode
pip install -e .
# Install with dev dependencies
pip install -e ".[dev]"
# Build distribution
python -m build
# Build executable with PyInstaller
pyinstaller pyinstaller-gui.specContributions are welcome. Feel free to submit a Pull Request.
git checkout -b feature/amazing-feature).git commit -m 'Add some amazing feature').git push origin feature/amazing-feature).